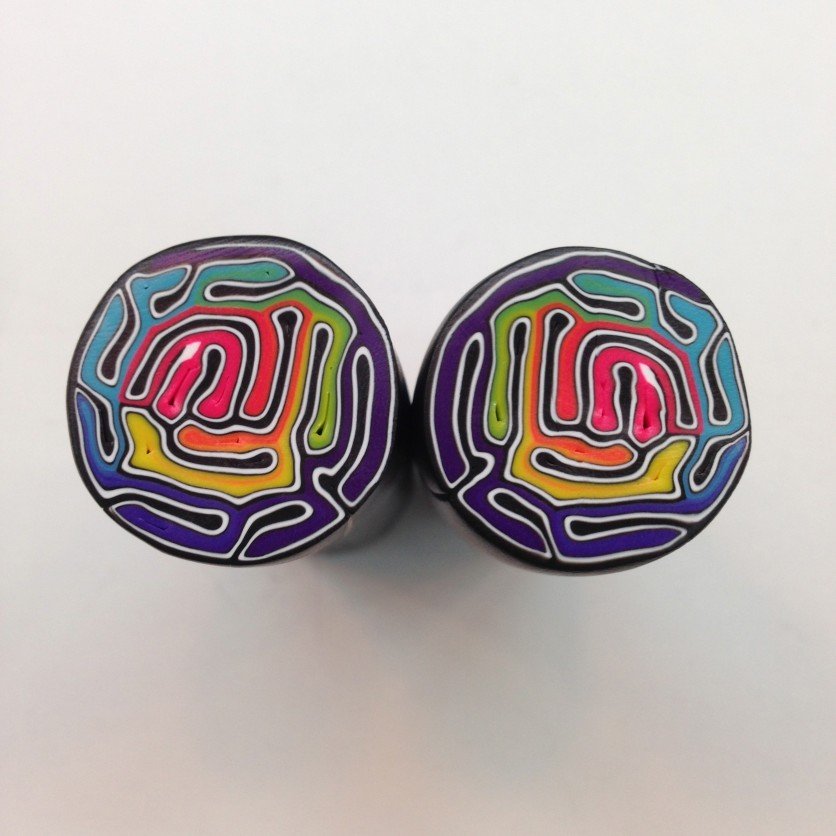
premo Sculpey Brain Cane
premo Sculpey Brain Cane
Read More
The Brain Cane is a simple cane that can be changed up by using different numbers of colors inside. Practicing good technique is important to creating accurate canes. Once you have mastered making simple canes with good technique, you will be able to combine your simple canes together to create more complex ones. I would like to thank Polymer Clay Central for their online tutorial for my initial exposure to this cane.
Read Less
ADDITIONAL SUPPLIES
Silvertone 2” head pins (2)
Silver tone ear wires (2)
Clear crystal beads (2)
Round nose pliers
Wire cutters

Project Instructions
Condition all colors of clay.
Designer’s Note - In this instruction we are starting with a Rainbow Color Skinner Blend Sheet of Cadmium Yellow, Pink Fluorescent, Purple, and Turquoise. Complete instructions are available on the Sculpey Website. Make a Rainbow Color Skinner Blend sheet on the thickest setting of the Sculpey® Clay Conditioning Machine (1/8”).

Fold the sheet in half matching like colors to like colors. Gently roll over the sheet with the Sculpey® Acrylic Clay Roller to smooth together and push out air bubbles.

Sheet Black through the Sculpey® Clay Conditioning Machine on the 4th thickest setting. Make the sheet the same dimensions as the Rainbow blend sheet.

Layer the doubled rainbow sheet on top of the thin Black sheet. Press both sheets together through the Sculpey® Clay Conditioning Machine on the thickest setting to make the sheets longer.

Sheet White and Black through the Sculpey® Clay Conditioning Machine on the thickest setting. Make each sheet the same width as the rainbow/Black sheet and half as long.

Layer the Black over the White and press back through the Sculpey® Clay Conditioning Machine on the thickest setting. The Black/White sheet should be about as long as the rainbow/Black sheet.

Layer the rainbow/Black sheet over the Black/White sheet and press back through the Sculpey® Clay Conditioning Machine on the thickest setting.

Decide which color you would like to be in the center of your cane. For my cane I’ve chosen to put the pink end in the center. Cut a straight edge on the end that will go in the middle. Fold the end of the sheet up 1/4”.

Continue folding the sheet up accordion style. Mix up the pattern by sometimes folding and sometimes wrapping the sheet around the center part.

Continue around the center folding and wrapping.

When you come close to the end of the sheet, make sure you have enough sheet so that you can have the entire outside of the cane be wrapped in Black.

Begin reducing by squeezing the cane in your hand to make it more circular. Aways squeeze from the center out to the ends.

Once the cane is circular, roll it on your work surface to reduce to desire diameter.

Slice your cane open and enjoy using in your next project.


