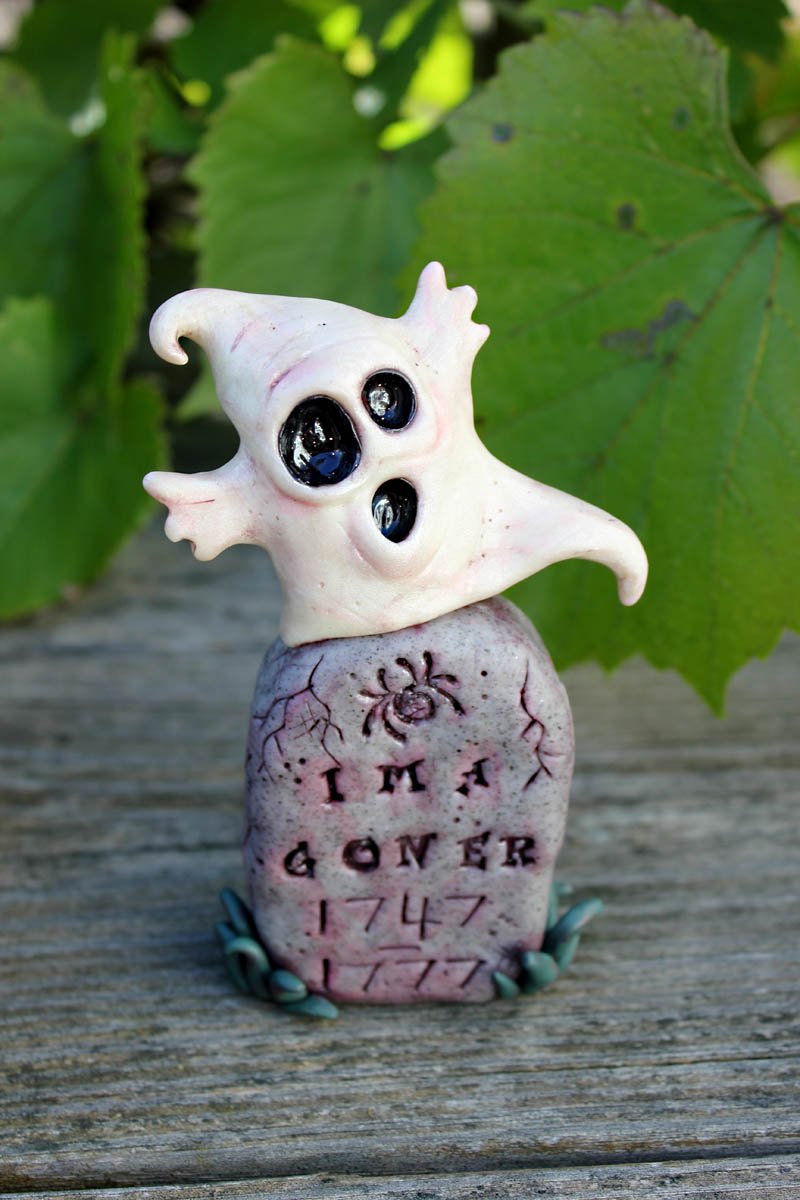
Premo! Tombstone Ghost Tutorial
Premo! Tombstone Ghost Tutorial
Read More
This clever Halloween decoration is sure to "scare" up some smiles at your house!
by Miranda Farrand of Miranda’s Critters
NOTE: You can use a Sculpey Clay Conditioning Machine or acrylic roller to make the flat clay sheets.
Read Less
ADDITIONAL SUPPLIES
Aluminum foil, alphabet rubber stampers, needle tool, Halloween themed stamps (optional), craft wire, sponge, paint brush, dark acrylic paint such as Black Plum, Neon pink acrylic paint

Project Instructions
Getting Started:Polymer clay may stain. CLAY MAY DAMAGE UNPROTECTED FURNITURE OR FINISHED SURFACES. DO NOT USE polymer clay on unprotected surfaces. We recommend working on the Sculpey® Work ‘n Bake
Take a length of aluminum foil and form a core for the tombstone of the desired shape. I chose a slightly rectangle shape with a rounded top. Mine is about 2 ½ inches tall by 2 inches across. Cover completely with well-conditioned Gray Granite clay. Work out any air bubbles. The surface does not need to be completely smooth: lumps, bumps, cracks and crevices give character to this piece.

Using your alphabet rubber stamps, stamp onto the tombstone front & back any wordage you desire. Use the needle tool to draw/etch cracks into the clay to give the look of old weathered stone.

Form long, rice-like pieces of the green Jungle clay to form clumps of grass along bottom of tombstone.

Form a small, flattened foil core about 1 inch wide by 1 ½ inches tall in a lop-sided oval shape for your ghostly body. Cut a length of 20 to 18 gauge craft wire about 1 inch in length to adhere the ghost to the top of the tombstone. Mix and condition ¼ of the block of Pearl clay with ½ of the block of glow-in-the-dark clay. Cover the ghost form so that all foil is well covered. The clay should be fairly thick in relation to the ghost form in order to allow for pinching & pulling create arm-like features as well as curly-Qs and willowy wisps.

Use the medium and large ball stylus tools to form holes for eyes and a mouth. Use small bits of the black (for added depth and sparkle mix a bit of the Twinkle-Twinkle with the plain black) to fill in the eyes & mouth. Hollow the black out a bit with the ball stylus tools to give a sunken appearance.

Secure the ghost to the top of the tombstone with the length of craft wire. Use the needle tool to add detail dots & lines to the ghost for added character.


Bake at recommended settings for recommended times. After cooled, apply a patina of acrylic paint. Wipe off paint with barely dampened sponge. This will fill in any detail lines in the clay. Dry brush minute amounts of Neon Pink acrylic paints to features to give depth to the color of the sculpture. Apply Sculpey gloss to eyes, letters and other features you wish to stand out.


