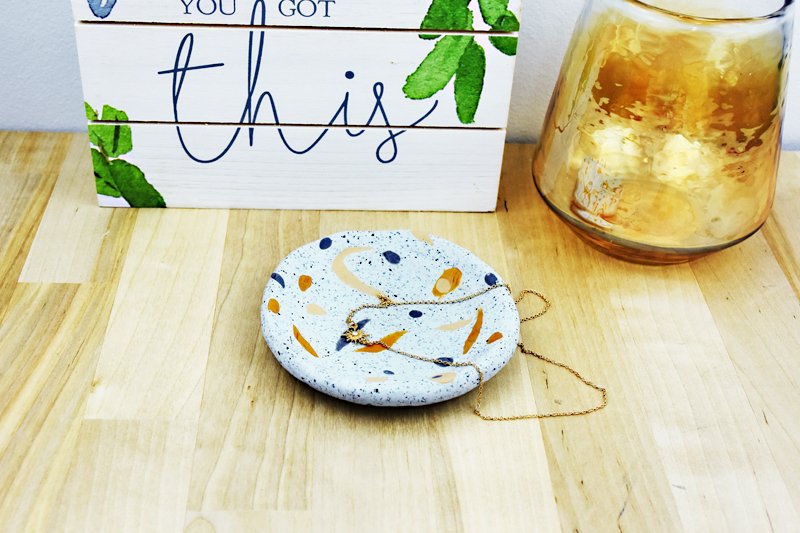
Original Sculpey® Granite "Hint of Metal" Trinket Dish
Original Sculpey® Granite "Hint of Metal" Trinket Dish
Designed by Syndee Holt
Read More
Read Less
This cool little bowl has a mid-century vibe and is perfect to capture keys, rings and change!
ADDITIONAL SUPPLIES
- Small sheet of paper
- Round bottom bakeable bowl

Project Instructions
- Getting Started:
Start with clean hands, unwrap and knead clay until soft and smooth, or condition by running clay though a Pasta Machine. We recommend using a designated machine for clay purposes only. When working with multiple colors, clean hands with soap and water or baby wipes (we have found that baby wipes work best) before switching colors. Shape clay, pressing pieces firmly together. Wash hands after use.
- Baking:
Roll a portion of conditioned clay into a 2-1/2 inch (63mm) ball. Gently press the ball flat with the palm of your hand.

Use the acrylic roller to continue to spread the circle of clay. Continue until the circle is the approximate size and thickness you want.

Roll small balls and tiny snakes of the colored clays and gently press them to the surface of the clay disc. Gently roll these pieces into place with the roller and continue to add pieces as you see fit. Roll the pieces completely into the clay disc.


Once you have your design in place, put a small piece of paper over the design and gently press your rounded bottom bowl into the disc to help create the rounded bowl. Gently roll the bowl to increase the size of the rounded portion and create a lip.

Use your fingers to help pinch up as much of a lip as you wish. I decided to keep mine rather flat.

Bake as directed in step 1 and enjoy! NOTE: if you have a bakeable bowl that you wish to bake your clay bowl in or on 3" tear a small piece of paper to put between the bowl and the clay so that you don't get shiny spots on the clay from the smooth surface of the bowl.


