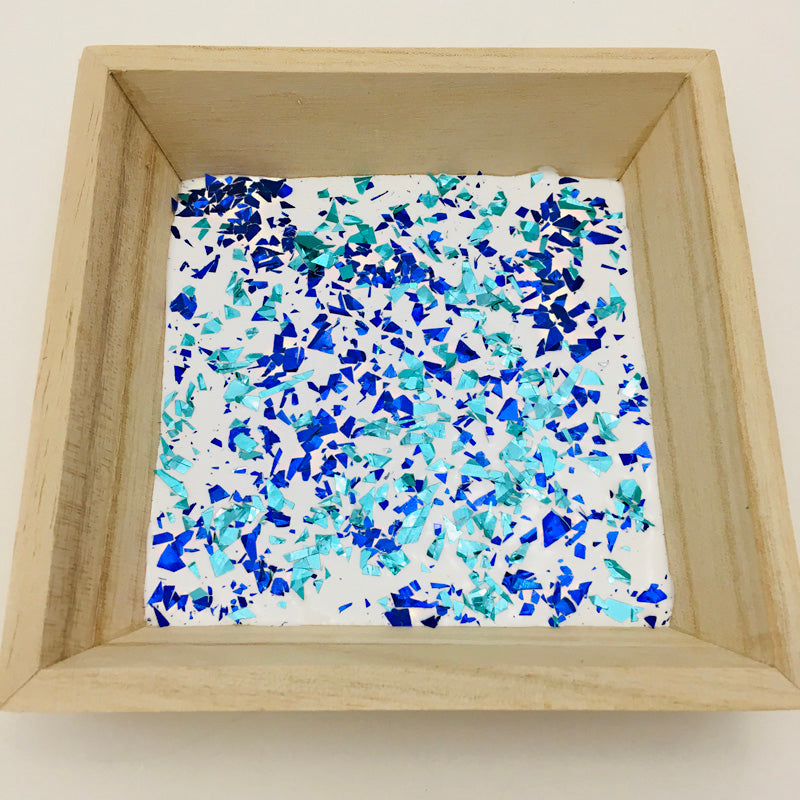
Liquid Sculpey® Confetti Tray
Liquid Sculpey® Confetti Tray
Designed by Amy Koranek
Read More
Read Less
Add some sparkle to any room with this simple to make tray!
TIME TO COMPLETE:
90 Minutes to make and bake
ADDITIONAL SUPPLIES
- Small wooden tray
- Sandpaper
- Foil glitter or confetti in blue, purple, turquoise, clear pink, and clear iridescent
- Paper towel

Project Instructions
- Getting Started:
- Baking:
Pre-bake the wooden tray to make sure any sap in the wood is released. If you notice sap on the surface of the tray after it’s cooled, it can be sanded away. Open the White Liquid Sculpey® (LS) and place a puddle of it in the bottom of the tray.

Use one of the clay tools to spread the White LS to the edges of the tray. Add White LS as necessary to make sure you have an even layer.

Sprinkle blue foil glitter into the White LS.

Sprinkle turquoise foil glitter next.

Sprinkle purple foil glitter next.

Sprinkle pink foil glitter.

Finally sprinkle the clear iridescent glitter. Bake the tray following the baking instructions for LS. Allow the tray to cool completely.

Make sure the Clear LS is stirred really well before proceeding. Clear LS generally has a sediment in the bottom of the bottle which should be mixed completely back into the liquid. Add Clear LS to the bottom of the tray completely covering the glitters.

Bake one more time at 300F to clear the liquid completely. If during either baking, there is an air bubble between the liquid layer and the wood, you can very carefully poke a hole in the cured liquid with a needle. Then with an oven mitt on your hand, press the bubble back down releasing the air through the hole while the tray is still warm.


