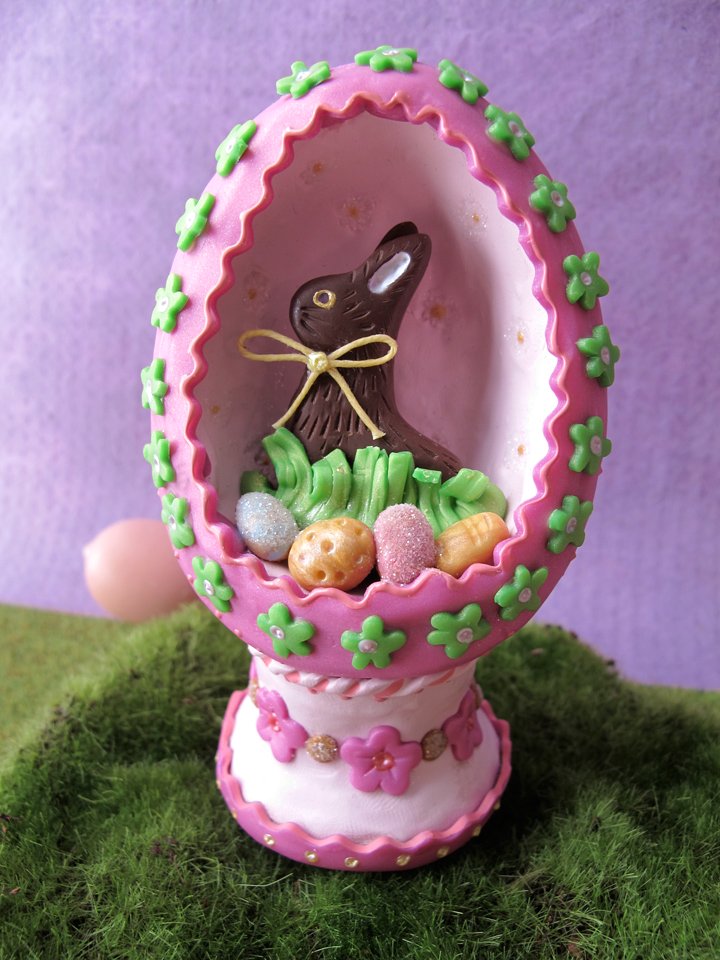
Sculpey Premo™ Chocolate Bunny Egg Diorama
Sculpey Premo™ Chocolate Bunny Egg Diorama
- Ceramic tile
- 3-D Paint: pink, gold and white
- Mini flower cutter
- Wax yellow twine
- 3 1/4" Paper mache egg
- Wooden Knob
- Baby Powder

- Getting Started:
Start with clean hands, unwrap and knead clay until soft and smooth, or condition by running clay though a Pasta Machine. We recommend using a designated machine for clay purposes only. When working with multiple colors, clean hands with soap and water or baby wipes (we have found that baby wipes work best) before switching colors. Shape clay, pressing pieces firmly together. Wash hands after use.
- Baking:


To make the grass use Bright Green Pearl clay. Cut three sides of your rectangle shape with your slicer and one side with your rigid slice to represent the top of grass. Slice out blades of grass. Use 18K Gold clay to make the mini eggs. Use a little Oven Bake Clay Adhesive to attached your pieces to the inside of the egg.

Use another piece of Magenta clay and run it through the # 2 setting of the Clay Conditioning Machine. Then use your wavy bladel to make two stripes for framing your diorama eggs window. Blend the edges into the egg.

Add any other clay details to your eggs where needed. Try using a mini flower cutter to make flowers in Bright Green Pearl for the trim around the egg opening.

Place your egg diorama on a smooth ceramic tile and bake as directed above, allow to cool.
Once cooled you can add details to your egg with 3D paint – dots, swirls etc. Glue a wax twine bow onto your bunny and add a sparkle of glitter!


