Skip to product information
1 of 1

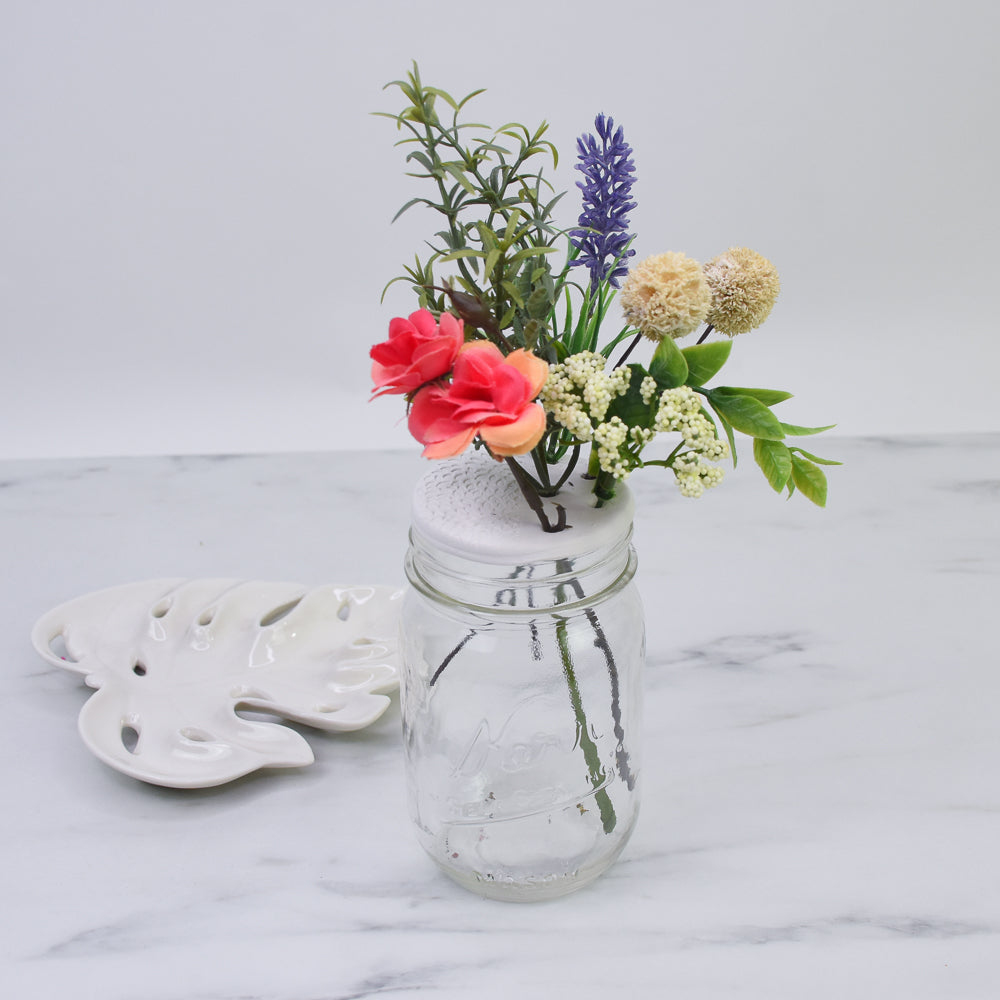
Sculpey Air-Dry™ Mason Jar Flower Holder

Sculpey Air-Dry™ Mason Jar Flower Holder

Designed by Jennifer Courington
Read More
This is an easy and fun way to use a mason jar and show off some of your garden blooms. Of course, you can use silk florals as well. TIME TO COMPLETION: About 20 minutes to make. Drying time will vary.
Read Less
ADDITIONAL SUPPLIES
  • Mason jar (any size)
  • Optional: Baking rack for drying clay
View full details
Project Instructions

Step 1

Getting Started with Sculpey Air-Dry™ :

Please make sure your work area is covered. We recommend working on the Sculpey® Oven-Safe Work Mat, wax paper, or disposable foil.

Start with clean hands, unwrap the amount you think you will use and knead clay until soft and smooth.  Wash hands after use. Wrap any extra clay in then wrapper and then put in an airtight container.

While your Sculpey Air-Dry™ creations will dry on their own, you can also cure more quickly by baking them in your home oven at 200 °F.  The baking duration
depends on your clays thickness-thin pieces should bake for a minimum of 20
minutes, while thick pieces should bake long with frequent checks for hardness.

Step 2

Cut off a chunk of air dry clay from the bar – make sure you put the rest back into the foil wrapper and place in a zip lock bag. Condition the chunk as described in Step 1 above. Roll into a ball.

Step 3

Roll out the ball into a thick sheet about 1/8” thickness.

Step 4

Choose the texture you want to use. Place the texture sheet down on the clay
press down firmly with your fingers then roll over with the roller. Tip – don’t
roll over the edges of the sheet or the edge will create a line so roll almost
to the edge of the sheet. Remove the texture sheet.

Step 5

Cut out a circle using the lid for the mason jar, making sure you leave half of the
circle without pattern – this is where the holes for the flowers will go. Press down firmly and twist .Smooth the edges with your fingers.

Step 6

Use the medium size dual end tool ball end to push 5 circles into the non-textured area of the circle. For each hole take the tool and do a rotation motion to make a clean, slightly larger circle.

Step 7

Pick up the circle and push the tool through to make a smooth hole.

Step 8

Allow the completed jar topper to dry for 24 hours. If you are drying on a flat surface, you can flip the piece to allow the bottom area to dry as well.

Tip – place it on a wire rack so that both sides dry evenly and at the same time.

OPTIONAL: You can also use acrylic paint to paint your completed jar topper to match your flowers.