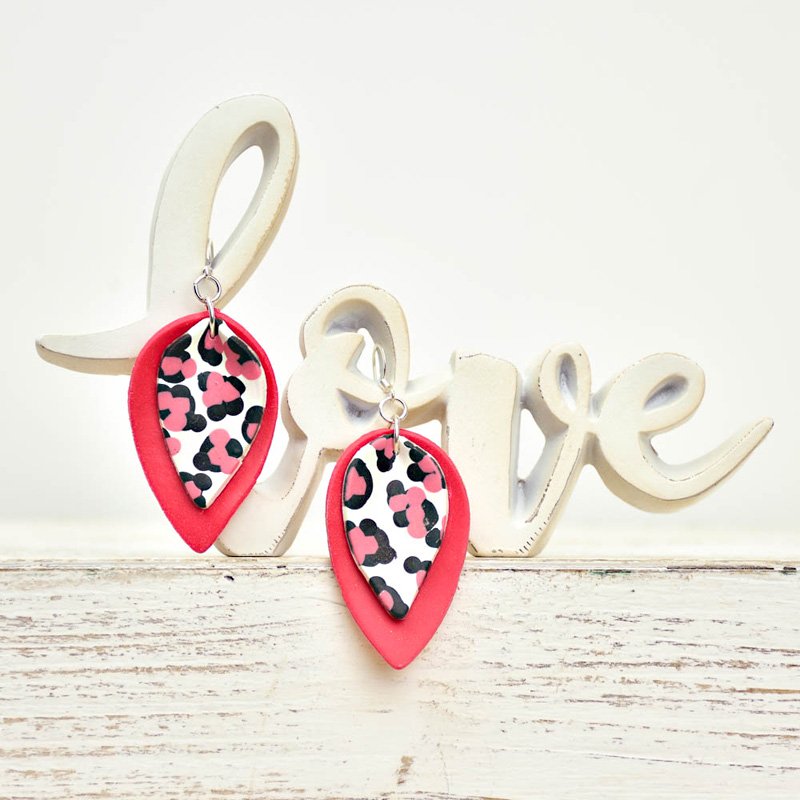
Sculpey Soufflé™ Easy Pink Leopard Print Earrings
Sculpey Soufflé™ Easy Pink Leopard Print Earrings
Designed by Syndee Holt
Read More
Read Less
Souffle is perfect for these faux leather look earrings that your tribe will love - make them for all of your besties!
ADDITIONAL SUPPLIES
- 10mm silver colored jump rings (s)
- Silver colored ear wires (2)
- Scrap paper
- Patty paper or thin paper
- Small damp sponge

Project Instructions
- Getting Started:
Start with clean hands, unwrap and knead clay until soft and smooth, or condition by running clay though a Pasta Machine. We recommend using a designated machine for clay purposes only. When working with multiple colors, clean hands with soap and water or baby wipes (we have found that baby wipes work best) before switching colors. Shape clay, pressing pieces firmly together. Wash hands after use.
- Baking:
Sheet out about 1/3 of the Igloo clay on the #3 setting on the Clay Conditioning Machine. Sheet out about ¼ of the of the Poppy Seed and Guava on the #5 (thin) setting. Position the thinner sheets to the side of the first sheet (background) and assemble your medium and small Etch n’ Pearls and a small damp sponge.

Build your spots! I like to start with one of the medium Poppy Seed dots (thin sheets make dots, thicker sheets make “pearls” with these tools!) and then add smaller dots of both the Guava, and Poppy Seed as shown.


Once you have “dotted” a sufficient area for cut out your two prints, lay a sheet of Patty Paper or clean paper over the clay and use the Acrylic roller to SLIDE back and forth with gently firmness to flatten the dots some more. You can peel the paper partially back to check your progress!

Once you are satisfied with your pattern, you can use the 3rd from largest teardrop cutter to cut out your two printed patterns. Set aside.

Sheet out about 1/3 of the conditioned Raspberry Souffle on the #4 setting on the Clay Conditioning Machine. Use the largest of the teardrop cutters to cut out 2 background pieces. Use your thumb and forefinger to lightly pinch the top center of the wider part of the teardrop to form a crease. Repeat this crease with the patterned teardrops as well.

Use the needle tool to poke a hole as shown. Position the printed piece and match the hole. Place the earrings on the Hollow Bead Maker in a position to support the folded crease. You can stack your pieces together and then separate them after baking (if you don’t press them together!). Bake according to the directions in Step 1.


After the earrings have baked and cooled, separate the individual pieces for each earring. Thread the Raspberry piece onto a jump ring, followed by the printed piece. Thread on the ear wire and close the jump ring. Repeat for the other earring.


