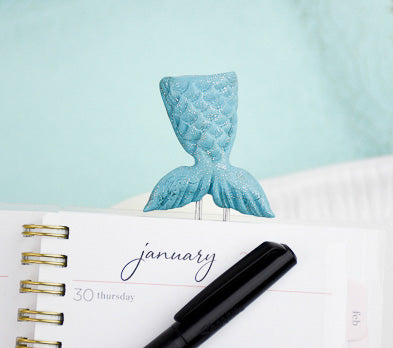
Sculpey Premo™ Mermaid Bookmark
Sculpey Premo™ Mermaid Bookmark
Designed by Amy Koranek
Read More
Read Less
Sculpey Premo™ helps make this clever bookmark an easy sculpt with sparkling results!
COMPLETION TIME:45 Minutes to make and bake
ADDITIONAL SUPPLIES
- Large paper clip

Project Instructions
- Getting Started:
Start with clean hands, unwrap and knead clay until soft and smooth, or condition by running clay though a Pasta Machine. We recommend using a designated machine for clay purposes only. When working with multiple colors, clean hands with soap and water or baby wipes (we have found that baby wipes work best) before switching colors. Shape clay, pressing pieces firmly together. Wash hands after use.
- Baking:
These instructions are based on one-ounce bars of Sculpey PremoTM. Blend 1/8 bar of Turquoise with 1/8 bar of White Gold Glitter. Do not blend them completely together. When you are happy with the partial blend, roll and twist the clay into a rope.

Use 1/2 of the blended color for the body. Divide the other half as shown. The two smaller pieces will be for the fins. The remaining piece is extra.

Shape the large piece into a cone shape that is flat on the back. Shape the two smaller pieces into fins that are fat in the middle and tapered on both ends.

Assemble the parts together as shown on top of the paper clip or you can substitute a Bobby pin. Make sure the parts are touching together well.

Flatten the pieces slightly onto the clip or pin. Carefully flip the tail over and apply some of the scrap clay to the back side to sandwich the clip into place.

Flip the tail back over right side up and smooth the seams. You can use the Flat End tool for smoothing or your fingertips.

Add shape and curves to the tail with the Blunt Point tool.

Add shape and smoothness to the fins with the Blunt Point tool.

Add texture to the fins with the Needle Tool. Add a scale texture to the body with the Flat End tool.

Bake the clay on the paper clip following the baking instructions for Sculpey Premo. Allow to cool completely before handling.


