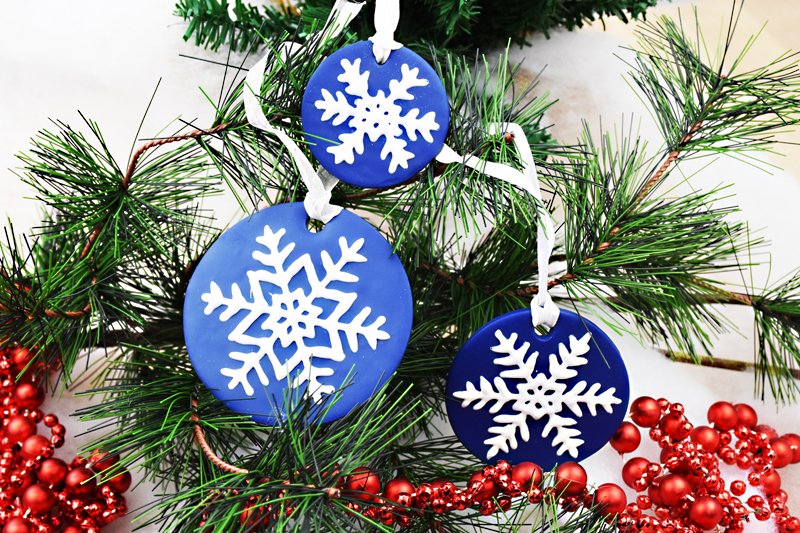
Premo Sculpey™ and Liquid Sculpey® Snowflake Ornaments
Premo Sculpey™ and Liquid Sculpey® Snowflake Ornaments
Read More
Read Less
Premo Sculpey™ becomes a brilliant backdrop for these custom made snowflakes created with Liquid Sculpey®.
ADDITIONAL SUPPLIES
- Circle shaped cookie cutters in 3”, 2.5”, and 2”
- Coordinating ribbon
- Scissors

Project Instructions
- Getting Started:
Start with clean hands, unwrap and knead clay until soft and smooth, or condition by running clay though a Pasta Machine. We recommend using a designated machine for clay purposes only. When working with multiple colors, clean hands with soap and water or baby wipes (we have found that baby wipes work best) before switching colors. Shape clay, pressing pieces firmly together. Wash hands after use.
- Clay Baking:
- Liquid Baking:
Sheet Navy Premo through the Clay Conditioning Machine on the thickest setting. Hand roll the clay with the Acrylic Clay Roller to smooth out ripples. Cut out one 3”, one 2.5”, and one 2” circle from the clay.

Use the side of the small Etch ‘n Pearl to mark shallow lines on each circle. Snowflakes in nature have six points, so I generally stick with this style when making my own snowflakes. I make one line down the middle and then mark an X across it dividing the circle into six equal pie shapes. For this design, I stayed back from the edges of the circle so they would have a Navy border all the way around.

Use the large Etch ‘n Pearl to make a hole in each ornament. Press the tool down into the clay and spin it in a circular motion. If the hole does not completely release, you can use the tip of the Etch ‘n Pearl to help remove it. In the rest of my photos, the hole is not shown. But, believe me, you’ll be happiest if you poke the holes in the ornaments before you do the decorating with the Liquid Sculpey

Before beginning your designs, test your White Liquid Sculpey on a scrap piece of paper or a piece of glass or even on scrap clay. Look to see how quickly the White LS spreads. Generally, the White LS is thicker than the other colors and ideal for drawing with. This spread test will help you know if your LS is going to make a wide line or a thin line. Now for the fun part! Trace over the lines on the blue base with the White LS gently squeezing the bottle. This will be the basic bones for the snowflake. When you lift the nozzle from the line, always go backwards toward the line that you just drew, releasing the pressure on the bottle and allowing the drip of LS to go back into the line.

Next add a series of little V’s close to the middle and connecting the lines together.

On each of the arms, add a series of three V’s - larger toward the middle and smaller going outward.

Then go back and make sure the first set of larger V’s in the middle are connected at the tips if desired

Repeat the process to make snowflakes on each of the other circles. Bake the ornaments following the baking instructions for Premo. When they are completely cool, add ribbons.


