
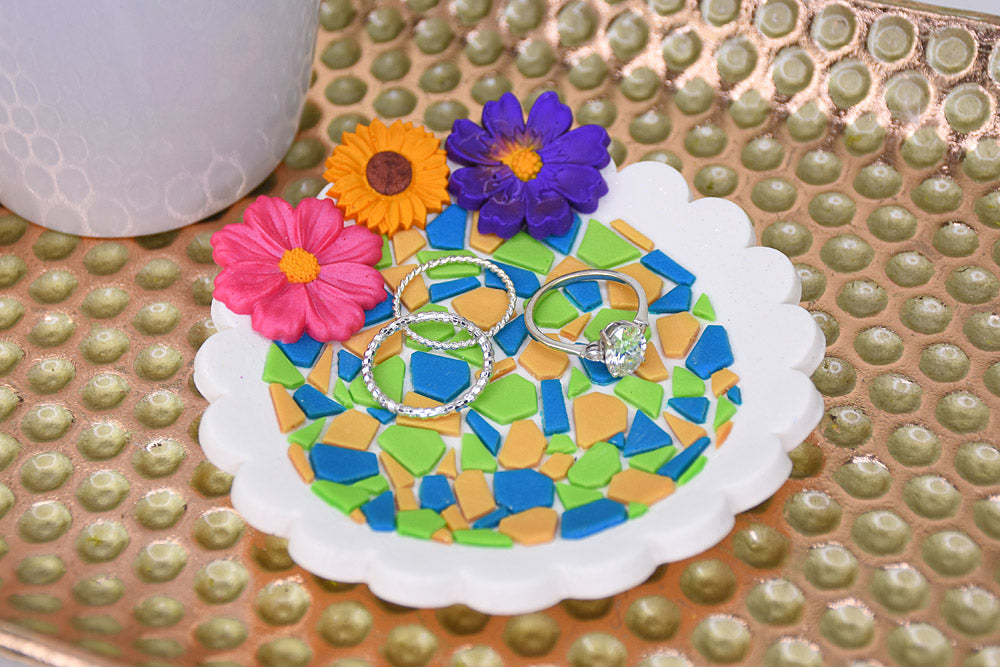
Sculpey Premo™ & Sculpey Soufflé™ Mad Micas Collaboration Ring Dish
Sculpey Premo™ & Sculpey Soufflé™ Mad Micas Collaboration Ring Dish
Read More
Team up Sculpey clays with Mad Micas colorful powders to create this distinctive ring dish perfect for you or give it as a unique handmade gift!
TIME TO COMPLETION: 45 minutes to make and 40 minutes to bake
Read Less
ADDITIONAL SUPPLIES
- Oven safe molds for flowers/dish
- Large cutter (approx. 4”-5”)
- SUPER GLUE
- Small mixing cups
- Mad Micas The Full Monty Collection
Project Instructions
Step 1
Step 2

Step 3

Step 4

Step 5

Step 6

Step 7

Step 8

Step 9
