Skip to product information
1 of 1

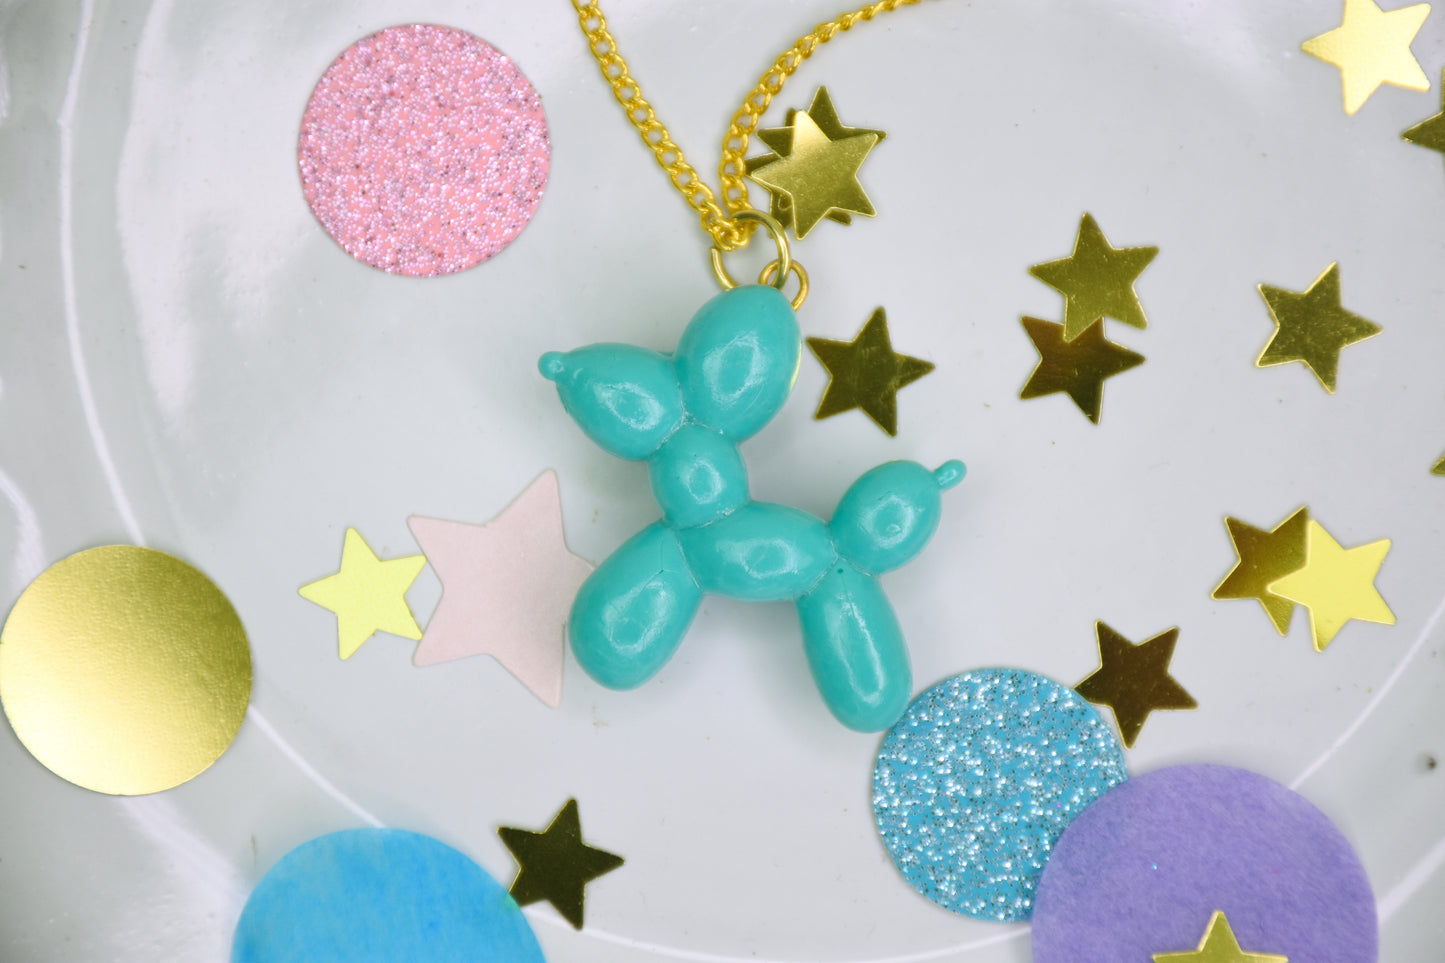
Liquid Sculpey® Balloon Dog Pendant

Liquid Sculpey® Balloon Dog Pendant

Designed by Amy Koranek
Read More
Create this clever little pendant in a snap. In this tutorial I will suggest a solution for affixing findings to a molded Liquid Sculpey® piece so that you can finish it as jewelry.
Read Less
ADDITIONAL SUPPLIES
  • Paper towel
  • Paintbrush
  • Silicone Balloon Dog Mold
  • Round nose pliers
  • 1” Gold tone eye pin
  • Small craft scissors or a craft knife like an X-acto
  • Wire rack
  • Flat nose pliers
  • Gold tone necklace chain with clasp
  • 6mm Gold tone jump ring
View full details
Project Instructions

Step 1

Getting Started with Liquid Sculpey®:

Please make sure your work area is covered and you are not working on an unprotected surface. We recommend working on the Sculpey® Oven Safe Work Mat, wax paper, metal baking sheet, or disposable foil. Uncured Liquid Polymer Clay may damage unprotected furniture or finished surfaces. Be sure to cover your crafting area appropriately.

- Stir Liquid Sculpey® completely. Thin with Sculpey® Liquid Clay Softener as needed

-Wash hands after use (we have found that baby wipes work best)

Baking:

 -It is important to use oven thermometer when you bake the liquids so that you can ensure your oven is at the correct temperature.

-Do not microwave the liquids. They must be baked in a Preheated oven at 275 ºF (130 ºC) for liquid colors and 300 ºF (149 ºC) for Clear – Do not exceed baking temperatures.

-If your piece is less than 1/4” bake for 15 minutes. For thicker pieces that are 1/4” or above bake for 30 minutes.

-If your liquid project has become yellowed or discolored in the oven, when you remake it, tent it by placing either – folding an index card in half and placing your project under it by using aluminum foil over your project.

Step 2

Fill the Balloon Dog mold of the desired size to half way with Turquoise Liquid Sculpey®. Tap the mold rapidly on the work surface to release air bubbles.

Step 3

Use a tool to poke into the mold around the edges and in small spaces to help air bubbles release further where they may be stuck in undercuts.

Wipe tools clean with paper towel.

Step 4

Fill the mold to level with more Turquoise LS. Tap on the work surface again to release air bubbles. Bake following the baking instructions for Liquid Sculpey®. Allow to cool completely before handling.

Step 5

While the mold is baking you can prepare an eye pin to convert the solid molded piece into a pendant. This is one method for adding findings to a solid piece that does not have a hole in it. Bend the end of a 1” eye pin to a hook using round nose pliers.

Step 6

When the mold is completely cool, without flexing it, lay it on the work surface level in front of you. It would be best if you can keep the mold on a baking tray so that you don’t have to transfer it back. Position the eye pin as shown so that the top eye is sticking out past the edge of the molded piece and the bottom eye is in the center of the molded piece.

Step 7

Carefully add drops of Turquoise LS over the eye pin sandwiching it into place. Don’t allow LS to cover the eye pin that is protruding past the molded piece because that is going to become our connector for a jump ring.

Add little drops of Turquoise LS all over the previously baked piece to give it a more rounded balloon like shape from the back side as well.

Step 8

Bake again following the baking instructions for Liquid Sculpey®. Allow to cool completely before flexing the mold to release the baked piece. Rough edges can be cleaned up with small sharp scissors or a craft knife.

Step 9

Add the jump ring but do not close it. Position a wire rack over a paper towel or other non-important item for catching drips. Suspend the balloon dog from the wire rack using the jump ring as a hook. Carefully paint both sides with Glossy Glaze using a paintbrush.
Allow the glaze to dry while suspended from the wire rack. Check for drips and
remove them as needed during drying time.

Step 10

Here’s a look at our layout for the necklace.

Step 11

Use flat nose pliers to open and close the jump ring adding it to the necklace chain.