Sculpey Soufflé™ Citron Marbled Wall Vase
Sculpey Soufflé™ Citron Marbled Wall Vase
Designed by Precious Nunez
Read More
Read Less
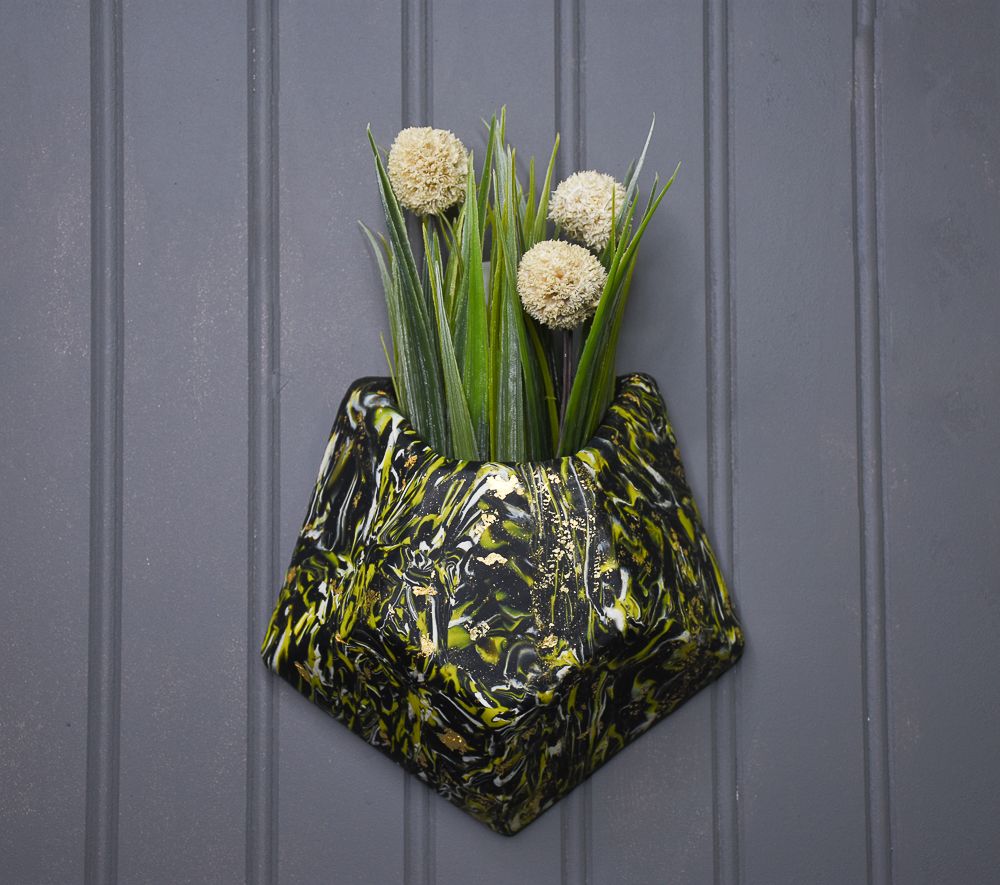
Create your own funky vase featuring Sculpey Soufflé™ new Citron colored clay to bring a pop of color to any space! Fill this vase with your favorite flowers for a stylish wall piece!
Time to complete
Sculpting time approximately 30 minutes, 30 minutes to bake/cure
Time to complete
Sculpting time approximately 30 minutes, 30 minutes to bake/cure
ADDITIONAL SUPPLIES
- Gold leaf flakes
- Ceramic geometric planter
- Gloss varnish (optional)
- Gloves (optional)

Project Instructions
Step 1
- Getting Started:
Start with clean hands, unwrap and knead clay until soft and smooth, or condition by running clay though a Pasta Machine. We recommend using a designated machine for clay purposes only. When working with multiple colors, clean hands with soap and water or baby wipes (we have found that baby wipes work best) before switching colors. Shape clay, pressing pieces firmly together. Wash hands after use.
- Baking (also called Curing):
Step 2
Roll several snakes of black clay along with a few snakes of Citron and small amounts of white as shown.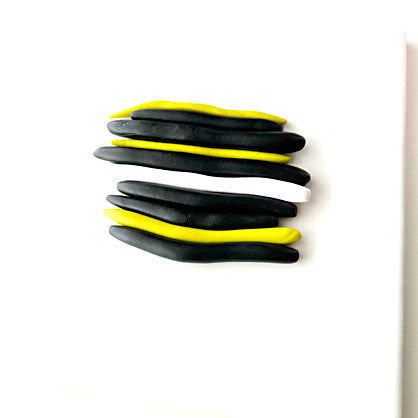
Step 3
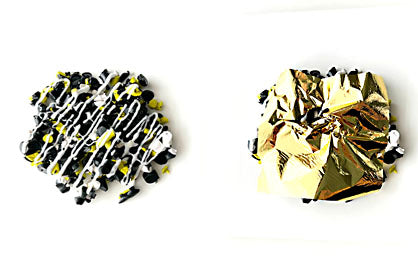
Take your clay blade and start chopping the clay to make small pieces as shown. I cut the clay vertically then cut it horizontally to get small pieces.
Step 4
Drizzle a layer of translucent Liquid Sculpey (LS) over the pile, refer to the photo shown for the recommended portion. Avoid using too much LS or it’ll be unworkable for this project.Place a sheet of gold leaf over the pile
Step 5
Gently knead the pile of clay into a ball avoiding mixing the clay too much, but enough to mix around the LS and gold foil.
Step 6
Roll the clay flat with your acrylic roller and repeat Step 3
Step 7
Form the clay into a ball and shape into a rectangle to resemble a large clay cane as shown.
Step 8
Make multiple slices into the cane lay them out into a slab as shown.
Step 9
Begin to roll the slab with your acrylic roller to conjoin all the slices, in this step you can also run the slab through the clay machine to get an even thickness (I used #4). If you would like to add additional gold flakes, do so now. *If you need more clay to cover the vase, repeat Step 2-8*.
Step 10
Place the rolled slab over the vase and cut off any excess with a blade. Go over the slabbed vase with the acrylic roller to ensure a smooth finish and get out any air bubbles that may be trapped.
Step 11
Bake according to Step 1 then glaze the vase if you’d like