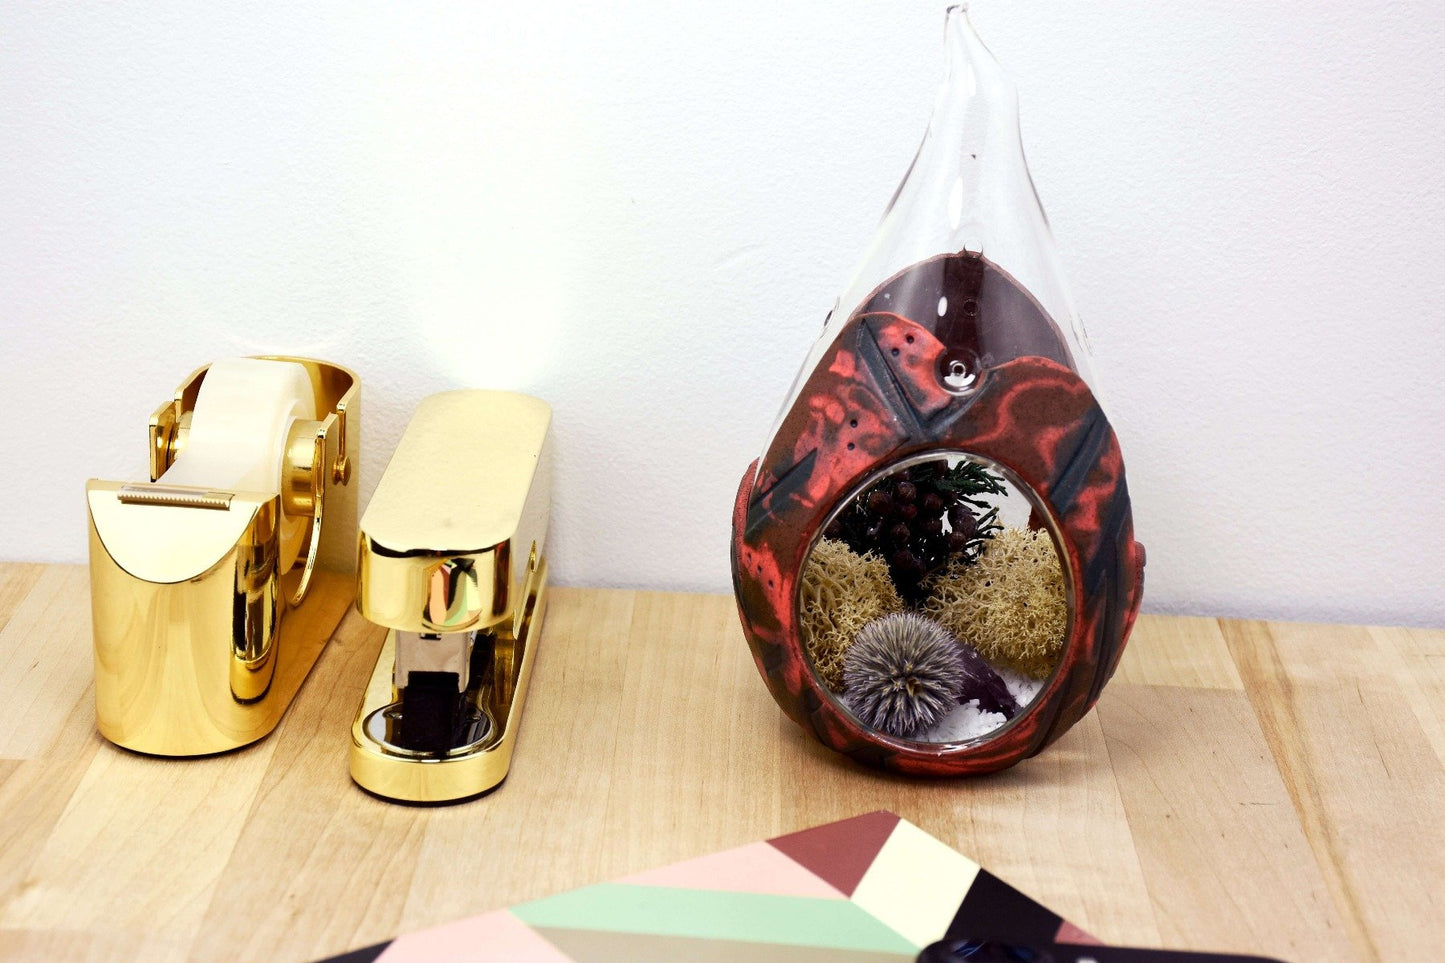
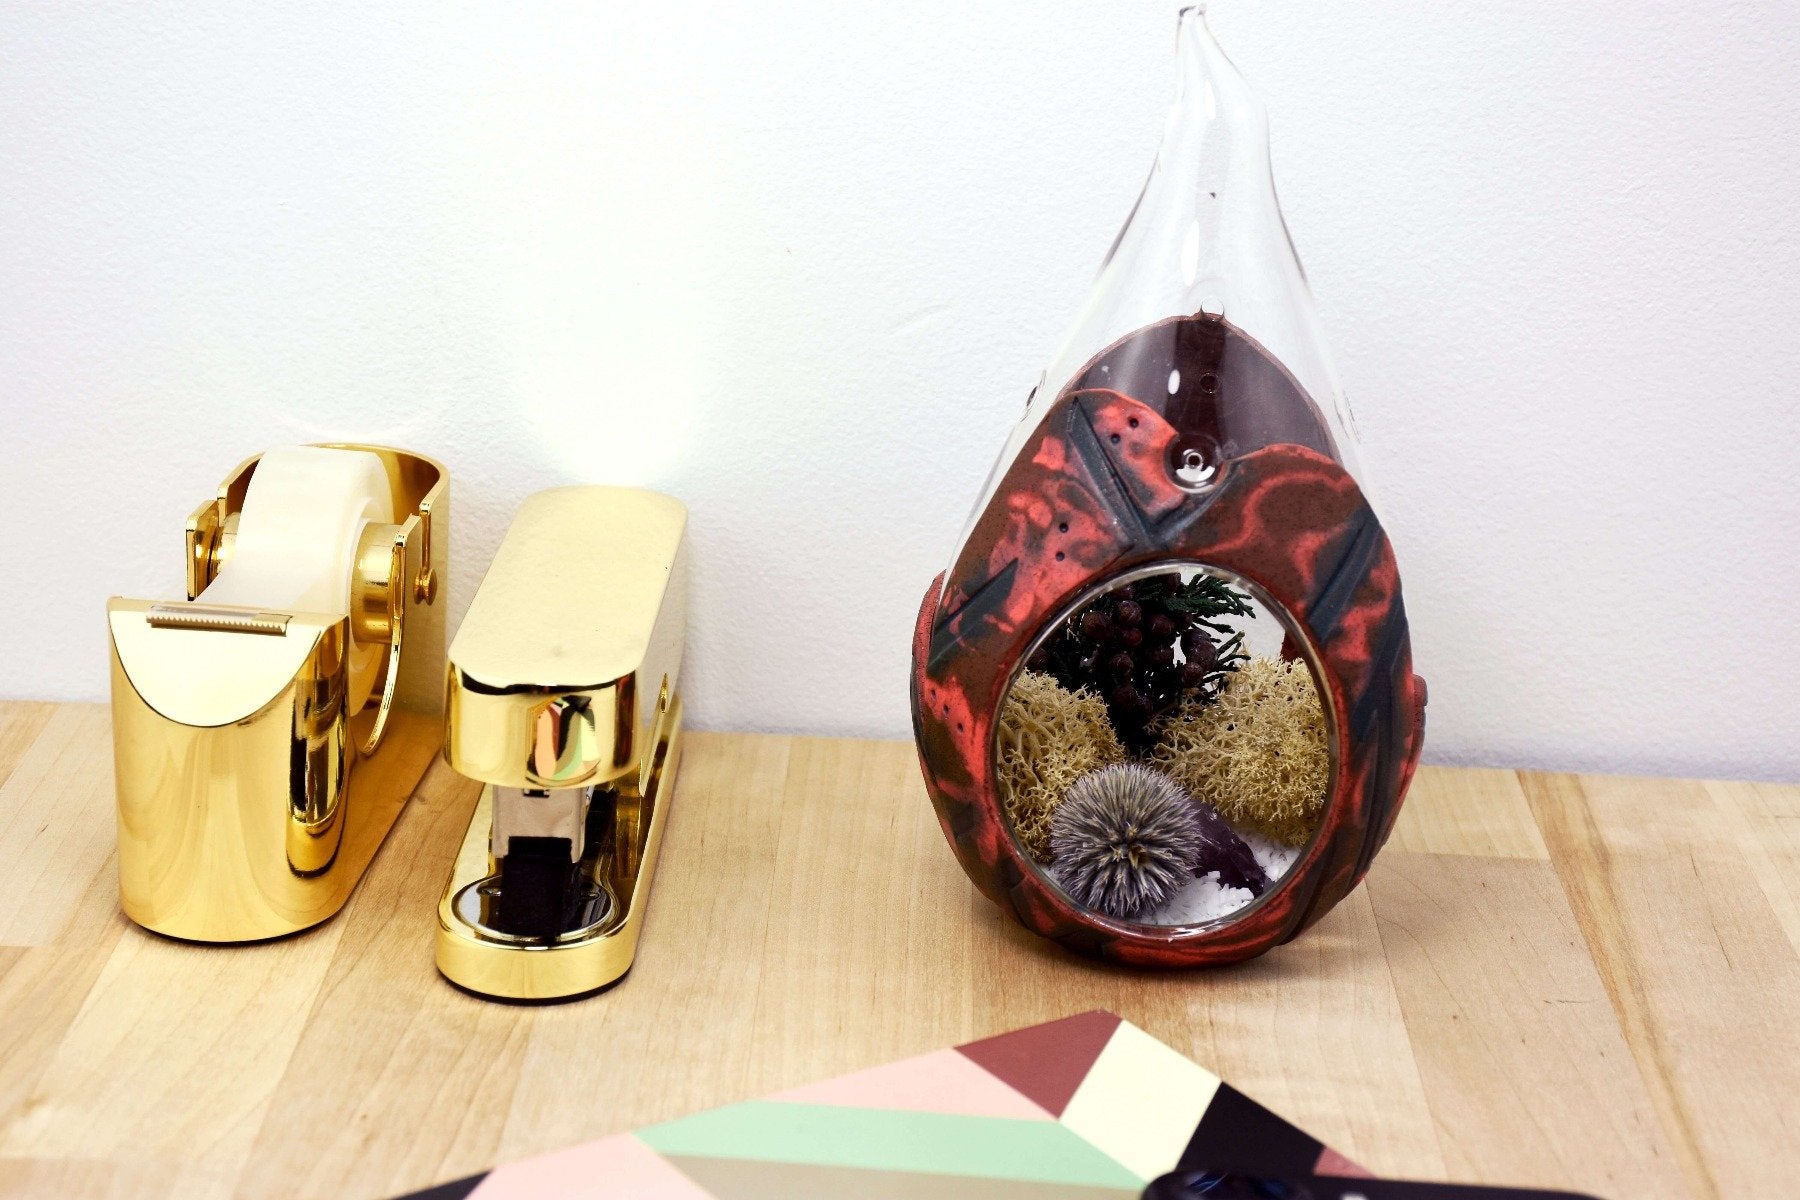
Sculpey Soufflé™ Air Plant Terrarium
Sculpey Soufflé™ Air Plant Terrarium
Designed by Amy Koranek
Read More
Read Less
Create a beautiful and unique terrarium perfect for your desk or even give as a gift!
ADDITIONAL SUPPLIES
- Note texture used Sculpey® Converging Lines Texture Sheet
- Hanging glass air plant terrarium
- Dark brown embossing powder
- Teaspoon measuring spoon
- Oval shaped cookie cutters in two sizes - large enough to create a large and a smaller window in your terrarium

Project Instructions
- Getting Started:
Start with clean hands, unwrap and knead clay until soft and smooth, or condition by running clay though a Pasta Machine. We recommend using a designated machine for clay purposes only. When working with multiple colors, clean hands with soap and water or baby wipes (we have found that baby wipes work best) before switching colors. Shape clay, pressing pieces firmly together. Wash hands after use.
- Baking:
Sheet both Mandarin and Cowboy through the pasta machine on the thickest setting. As you sheet the clay, gradually add up to 2 teaspoons of dark brown embossing powder to each color to create a fleck in the clays. Just add a little bit at a time and mix it in completely before adding more.

Layer the Mandarin on top of the Cowboy and sheet them through the pasta machine on the thickest setting together.

Cut the sheet in half, stack one half on top of the other, and sheet through the pasta machine again on the thickest setting.

Make sure the Cowboy color is on top. The top color will be the one that defines the details of the texture and I prefer that to be the darker color. Texture the sheet deeply with the texture sheet. First apply hand pressure all over the texture sheet to make sure it bites into the clay. Then roll over it with the Acrylic Clay Roller to get the deepest texture possible.

Carefully shave off the raised surfaces with the flexible Super Slicer blade. A Mokume Gane pattern will be revealed where the clay has been removed. Only shave as deeply as the thinnest part of the pattern.

Continue shaving away the raised surfaces until the whole pattern is revealed. Cut the sheet in half to make it easier to handle and to create a front and a back for your terrarium.

Next, cut a large hole in one of the clay sheets and a smaller hole in the other. These should be determined by the size and position of the holes in your glass terrarium.

Cut away the excess clays in a free style way that will make your clay sheets fit the size and shape of your glass terrarium.

Begin on the front side of the glass terrarium, lining up the main hole in the glass with the larger hole in the clay sheet. Carefully wrap the clay around the sides of the terrarium. Trim the clay as necessary so that it hugs nicely to the glass. Trim the bottom edge neatly.

Repeat Step 10, placing the smaller oval at the back around the smaller hole in the terrarium. On the sides, use the cut out ovals to bridge between the front clay piece and the back clay piece. Trim as necessary to make all the pieces fit together well. Carefully smooth seams with your fingertips so all the pieces connect to each other.

Emphasize the lines in the texture by scoring them with the side of an Etch ‘n Pearl. This just adds a little depth back into the texture without distorting the Mokume Gane pattern.

Add random dots with the 2mm ball tool.

Bake the glass vessel and clay together following the baking instructions. When the terrarium is completely cool, add air plants and enjoy!


