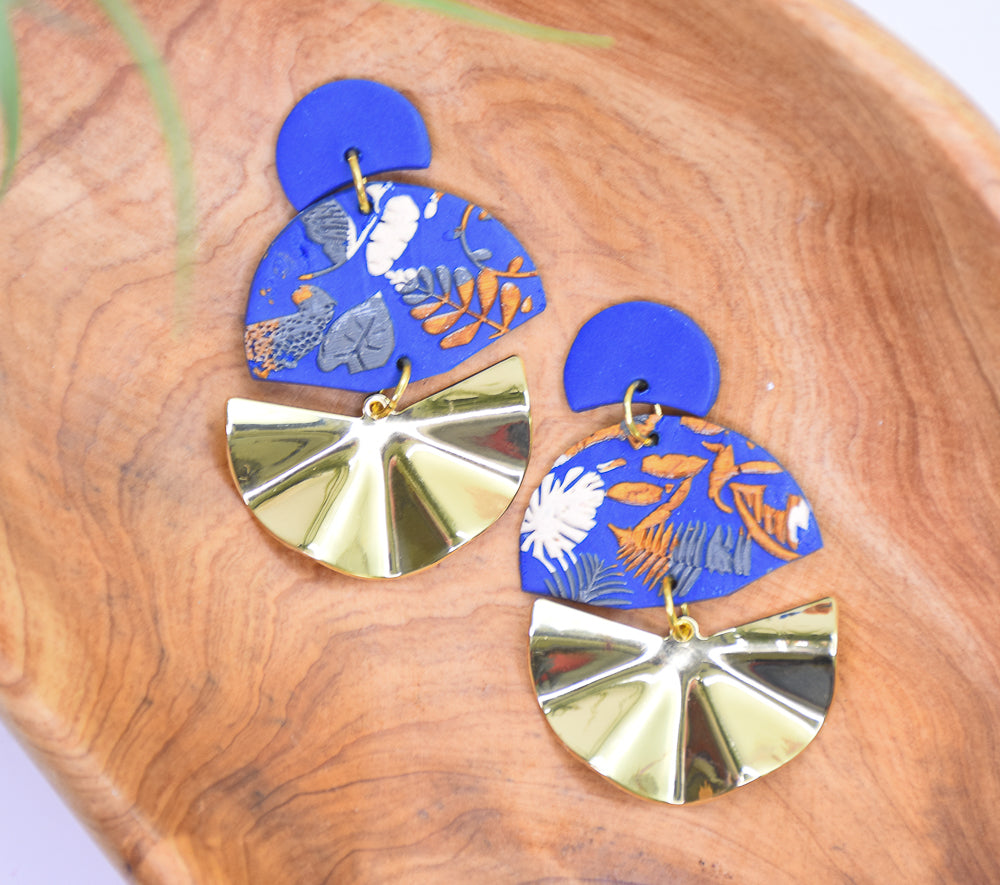
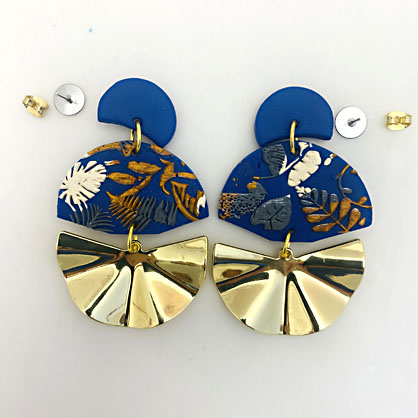
Sculpey Soufflé™ Sutton Slice Mixed Media Earrings
Sculpey Soufflé™ Sutton Slice Mixed Media Earrings
Designed by Amy Koranek
Read More
The Sutton Slice technique now has many variations, but always involves textured clay sliced away in thin sheets. In this version, the clay remains in the stamp and a backing sheet is added. COMPLETION TIME:
60 Minutes to make, bake, and assemble
Read Less
ADDITIONAL SUPPLIES
- Texture sheet
- Earring posts and backs (2)
- Silicone glue
- Fan shaped charms (2)
- 6 mm Gold tone jump rings (4)
- Flat nose pliers

Project Instructions
- Getting Started:
Start with clean hands, unwrap and knead clay until soft and smooth, or condition by running clay though a Pasta Machine. We recommend using a designated machine for clay purposes only. When working with multiple colors, clean hands with soap and water or baby wipes (we have found that baby wipes work best) before switching colors. Shape clay, pressing pieces firmly together. Wash hands after use.
- Baking (also called Curing):
To achieve the Sutton Slice, push bits of clay into the textured areas of a texture sheet.

Make sure to cover enough of the texture to accommodate the shape you are using.

Press the clay into the textures with the Acrylic Clay Roller.

Use a Clay Blade to shave the excess clay off of the texture sheet.
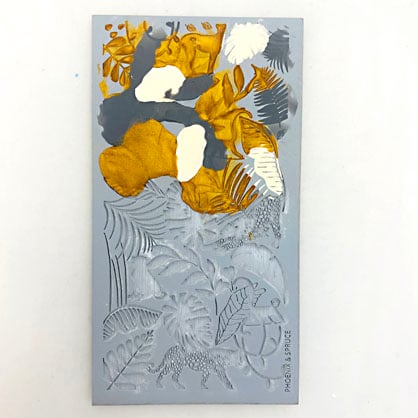
The excess clay should be shaved to level, leaving only clay in the textures.

Roll a sheet of Midnight Blue to 1/8” thick with the Acrylic Clay Roller or pasta machine on the thickest setting.
Press the Blue sheet onto the texture sheet covering the clay areas.

Burnish the Midnight Blue clay to the work surface with the texture sheet on top. Carefully peel the texture sheet back from the Blue clay. This will work best if you have the Midnight Blue clay stuck down to the work surface and you are able to tightly peel the texture sheet back. This may take a little practice but the results are very rewarding.

Here’s a look at the sheet peeled away from the texture.

Cut two half circles from the sheet with the 1.5” circle cutter.

Cut the clay half circles to match the fan charms shape with the Clay Blade.

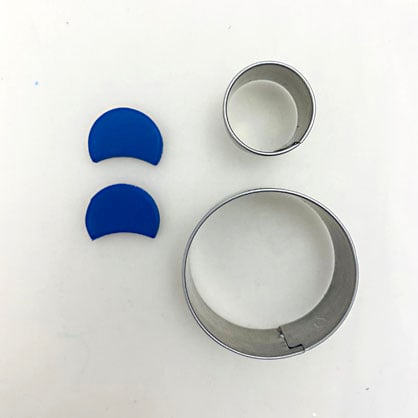
Use the 3/4” Circle Cutter to cut two circles from a 1/8” thick sheet of Midnight Blue. Cut a curve away from each small circle using the 1.5” Circle Cutter
Layout the earring pieces. Poke holes where jump rings will be used to attach parts after baking.
Bake the clay pieces following the baking instructions for Sculpey Soufflé™.
Allow to cool completely before handling.
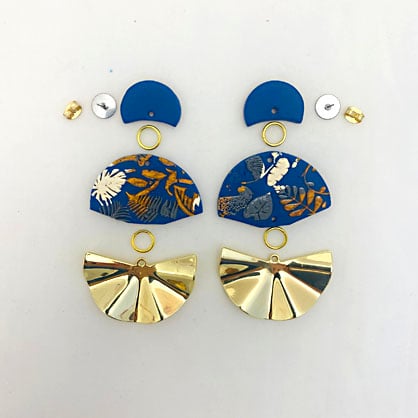
Use flat nose pliers to connect clay pieces with jump rings.
Glue posts to the backs of the top pieces with silicone glue.

Allow the glue to dry completely before handling.
