
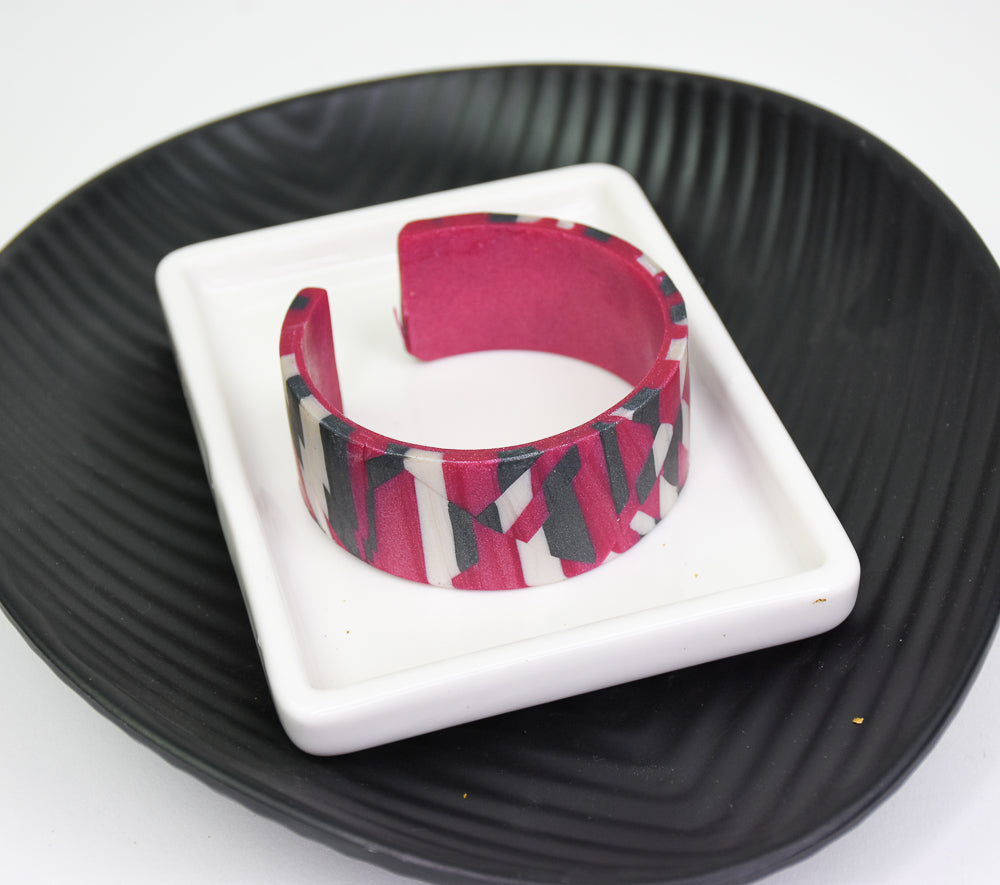
Sculpey Premo™ Geo Striped Cuff
Sculpey Premo™ Geo Striped Cuff
Designed by Amy Koranek
Read More
This project highlights a clever way to make an intricate looking pattern featuring Sculpey Premo™ pearl clays to add sparkle to the final cuff.
COMPLETION TIME:
60 Minutes to make and bake.
Read Less
ADDITIONAL SUPPLIES
- Metal or glass bottle with a circumference of at least 7”
Project Instructions
- Getting Started:
Start with clean hands, unwrap and knead clay until soft and smooth, or condition by running clay though a Pasta Machine. We recommend using a designated machine for clay purposes only. When working with multiple colors, clean hands with soap and water or baby wipes (we have found that baby wipes work best) before switching colors. Shape clay, pressing pieces firmly together. Wash hands after use.
- Baking (also called Curing):
From one half bar of each color, roll ropes that are 12” long.

Roll over the top of the ropes with the Roller so they are flattened slightly.

Cut the ropes into 12 one-inch sections

Lay the little bars in a row and apply them so the order is mixed up.

Roll over the clay so that the top and the backing are slightly flattened and really stuck together.

We are now going to cut the clay up in random angles and reassemble it to make a random pattern.
I started by cutting the ends off at angles and then trading their positions.
I started by cutting the ends off at angles and then trading their positions.

When you switch the cut pieces and put them back together make sure they are connecting to each other in their new positions.

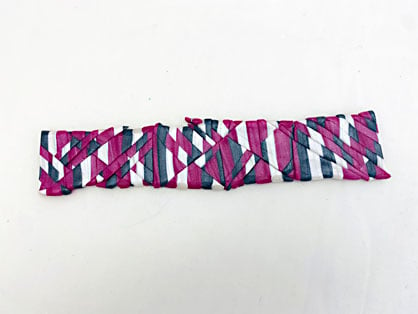
Continue sectioning the band with angled cuts and then switching the pieces to make a new pattern.

This photo shows the piece after many cuts and position trades.
Roll a sheet of Berry Pearl that is 1/8” thick and measures approximately 1” X 8”

Place the Berry Pearl strip close to the patterned clay.
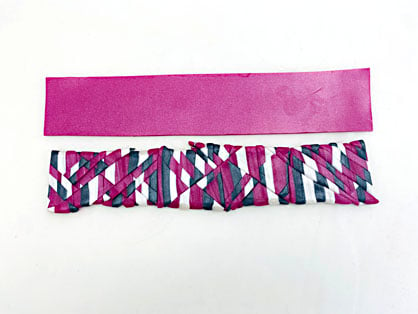
Roll the patterned clay to make sure it will hold together.
Then use the Blade to scrape the patterned piece up off the work surface and place it on the Berry Pearl strip as a backing.
Then use the Blade to scrape the patterned piece up off the work surface and place it on the Berry Pearl strip as a backing.

Roll over the entire slab to make sure it’s all sealed together.

Trim the clay piece to give it nice clean edges and cut it to about 7”.

Wrap it around an empty metal or glass bottle.
I like to leave a 1/2” gap where the ends of the bangle meet so that the bracelet stretches a bit when sliding it over my hand.
Bake following the baking instructions for Sculpey Premo™ in Step 1 above.
Allow to cool completely before popping the clay off of the bottle with your fingernail.
I like to leave a 1/2” gap where the ends of the bangle meet so that the bracelet stretches a bit when sliding it over my hand.
Bake following the baking instructions for Sculpey Premo™ in Step 1 above.
Allow to cool completely before popping the clay off of the bottle with your fingernail.
