
Creating a vibrant, “Pop Art” bug out of Sculpey is a fun, hands-on way for students to incorporate art into their science projects. They learn about different insects, and all their insect parts as they form them from bright Sculpey colors. In the end, kids have beautiful, colorful, Pop Art bugs that they made themselves and that they will be eager to tell you all about! Pop Art is an art movement that emerged in the second half of the 20th century and continues today. It incorporates popular culture imagery, often taken out of context and combined with unrelated material. Pop Art uses elements from advertising, comic books, and other everyday objects instead of those associated with high culture and is typically characterized by its simplicity, fun, and bright colors.

Before your students arrive, prepare your Sculpey by pre-cutting it into small squares and placing them on paper plates. Offer bright colors such as red, yellow, and blue, as well as fun greens, oranges, and purples for the students to use to create their Pop Art bugs. Pre-cutting the Sculpey will help prevent your students from working through your supply too quickly. Preparation: • Sculpey clays in bright primary and secondary colors • Sculpey Tools™ (rolling pins, etc.). • Sculpey Tools™ mat (nonstick) • Cooking sheet • Parchment paper • Paper plates • Glass marbles (optional)  Direct Instruction and Planning:
 Teach about insects and their anatomy by having students sketch or draw insects and their three main parts: head, thorax, and abdomen. Students can also plan for wings, legs, antennae, etc. Sculpey can be used for small details because students can get it very thin without it breaking apart.
  Distribute Supplies: After your students have finished sketching their insect, set up a supply station like a "buffet dinner.” Provide paper plates, sculpting tools, and bright Sculpey colors to create their Pop Art bugs. Having the supplies laid out like this makes it much easier to use an art material like Sculpey in your classroom. As students finish drawing their bugs, they can go through the line and get what they need to make them. Bonus—this allows your students to stand up, move around, and stretch their legs a bit.
 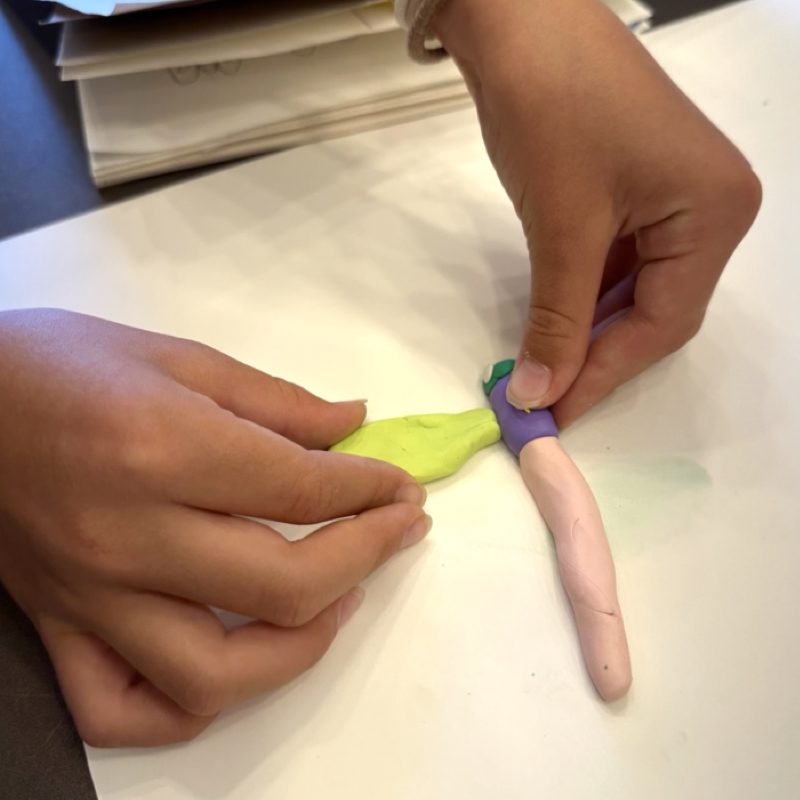 Create:
 First, form the colorful head, thorax, and abdomen of the insect. Make each part a different color so it is easy to distinguish them. Add wings and other details after joining the main three parts.
  Add Details: With Sculpey clays, pieces stick together without having to score and slip them. You can easily combine pieces by simply pushing or squishing them together. It’s great! Students can easily create patterns, textures, and details by rolling out long "coils" (long snakes), laying them on their insects, and gently pushing them down.
 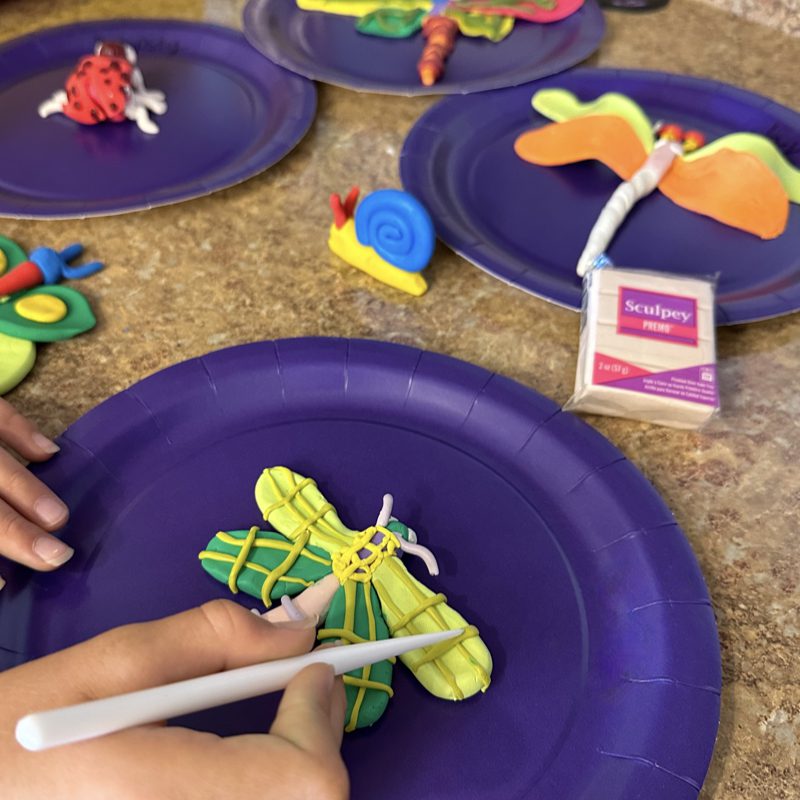 Use Tools: Encourage students to use a variety of tools to add details to their insects. Sculpey Tools™ are the best for this.
  Finish: Students should complete their Pop Art bugs with all final details and place them on a counter to keep them safe. They can be baked on the very same night! Baking/Curing:
  Take your class’s insects home and bake them in your oven, following the instructions on your clay packages. Use glass marbles to prop up wings and things you want to stay curved or sticking up, then remove them after baking and cooling.
Bug Collection: After you have finished baking your class set of Pop Art bugs, it would be a great idea to display them as a creative "bug collection" to showcase to all of your students.
Send the Bugs Home:  After the final insects are baked, they hold up nicely for your students. However, they could break if they have delicate parts or aren’t handled carefully. To help students transport them, cut up cardboard and wrap each insect in plastic wrap. This will help keep the bug safe and snug until it reaches home. Parents will be excited to see these Pop Art insects and relieved to find they are made out of Sculpey polymer clay rather than having real bugs crawling out of their children’s backpacks!
Project and Directions written by Jenny Knappenberger (Art with Jenny K)
