Air bubbles in polymer clay are a common occurrence before and after the baking process. Many methods, such as sharp tools, machines like pasta rollers or effective conditioning, can prevent possible air bubbles. However you choose to get rid of air bubbles, explore all your options before investing in a new machine or extra tools. Learn what methods might prevent air bubbles before baking and some easy ways to get rid of them afterward.
How to Avoid Air Bubbles in Polymer Clay
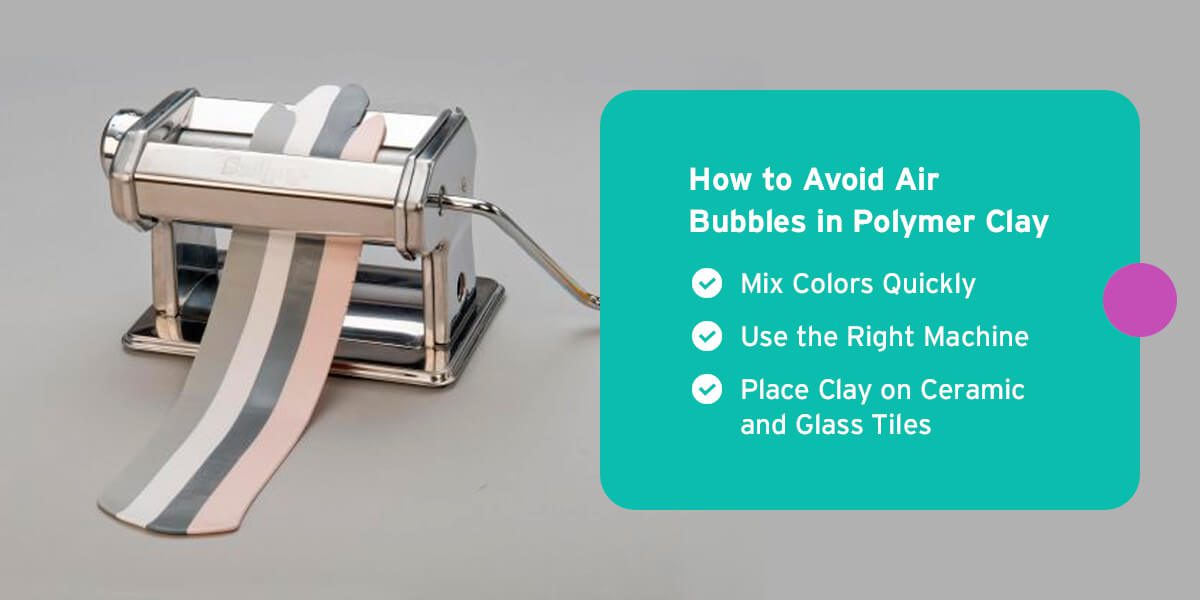
Avoiding polymer clay air bubbles helps prevent pockets that might lead to breakage, cracking or crumbling. If you want to make projects out of polymer clay, understand how to avoid air bubbles before baking. Here are some helpful methods to try.
1. Mix Colors Quickly
Mixing your clay quickly can reduce the chance of trapped air. If you plan to mix colors, use the correct method. Rather than stretching the clay and folding it in, tear off clay parts instead. Folding the clay into itself creates a high amount of bubbles. You can also stretch sheets of clay out before mixing to release air.
2. Use the Right Machine
Many people working with polymer clay use a pasta machine or clay conditioning machine to eliminate air bubbles and prepare clay to work with. You can use the thickest setting and enter the clay into rollers folded side first. Ensure you don’t fold the clay over, which could trap air.
How to Remove Air Bubbles From Polymer Clay
Even after you’ve taken steps to avoid air bubbles in polymer clay, you might still find some extra bubbles. If that’s the case, consider these steps to removing air bubbles from polymer clay before baking.
Proper Conditioning Methods
Conditioning is a process that prepares the clay for further use. It also removes possible air bubbles and pockets. When cutting new polymer clay for your project, you might see some open spaces where the air has been trapped. Conditioning the clay before anything else is essential, as trapped air may lead to bubbles and pockets later.
The first method is to condition clay using your hands. Cut out a portion of the clay and roll it back and forth until it’s warmed in your hands. It should be soft and easy to work with. Once warmed up, you can roll the clay into a ball and then into a snake-like shape. The clay has been properly conditioned if the snake-like shape is easily bendable.
The second method is to condition the clay using a clay conditioning machine. Cut out some clay into narrow pieces and fit them through the machine. Ensure you gently put the clay into the machine and fold it in half once it comes out. Insert the clay with the folded side down to reduce air bubbles and continue this method until the clay has smooth edges with a bright sheen.
Popping Them With a Sharp Tool
Try using a sharp knife, blade or tool to pop the air bubbles if they still appear. Make sure you are precise and gentle. You can push the air out of the bubble and smooth the area with your finger or a silicone tool. Larger bubbles might need more care than a simple pop with a needle or knife. However, sharp tools work well with tiny bubbles, which you should not ignore before baking.
How to Get Rid of Air Bubbles in Polymer Clay After Baking
Sometimes, air bubbles may be present after baking has finished. Consider these effective methods — sanding, adding new layers, texturing and applying acetone.
1. Sanding Them Down
Sanding the air bubbles down can reduce their effect after you’ve already baked your pieces. It is not uncommon for baked clay to have extra bubbles, but tools like sandpaper in 400 or 600 grit can reduce air pockets and leave small indentations. You can continue sanding the indentation until they disappear or become flat, then use 800 grit to smooth out the piece. Polish the piece into a matte finish. Then, you can buff the clay with 1,000 or 2,000 grit or a polishing cloth to produce a glassy shine.
2. Adding New Clay Layers
You can add new layers of thin clay if sanding is too tricky. New layers might be necessary if your project might easily break or crack as a result of the bubbles. You can add a layer of conditioned clay and re-bake the project to solve the problem.
3. Applying Texture
Sometimes, textures can help minimize the appearance of air bubbles in baked clay. You can use a shaper tool or a texture sheet over a thin layer of uncured clay to cover up the air bubbles or paint new textures on to camouflage the baked bubbles.
4. Using Acetone
Use pure acetone to minimize air bubbles and reduce air pockets. Acetone has many uses, including:
- Sanding: Use acetone instead of a sander and rub the liquid across the clay to reduce air bubbles.
- Mattifying: Create a finished, matte look on your clay projects.
- Minimizing: Minimize and remove air bubbles altogether.
- Reducing: Reduce dust particles, fingerprints and scratches.
When using acetone, test it on a scrap piece of baked clay first. Practice makes perfect, and it takes a few tries before you don’t leave any white marks. Rub the acetone over the clay with a Q-tip in alternating directions to remove bubbles. Be sure to rub in different directions, as acetone can easily dissolve the clay. If you happen to leave white streaks, use some cotton and acetone and go over the area again.
Explore Clay Products From Sculpey